Guest Blogger – DIY Christmas Crafts
This year Christmas decorating consisted of looking at what I had and trying to make something fresh and new from it. I am not very crafty, but being on an adopting family budget meant that purchasing new decor was just not feasible, so I had to get creative fast.
After much experimenting, I came up with a few ideas that are easy and affordable.
Warning: any Martha Stewart crafters may want to stop reading now….
The first little decorating tip I came up with is so simple and versatile. It’s also a perfect way for little ones to help out.
1.) You know those vases the florist brings that are buried in your kitchen cupboards? Find them. If you have a few extra bucks, visit a discount store like Marshall’s and invest in a variety of sizes of hurricanes or apothecary jars. I have a hodge podge of florist vases and hurricanes that I use.
2.) Look through your Christmas decor and find any surplus Christmas balls, pine cones, bells, or seasonal silk flowers.
3.) Stuff those vases to your heart’s content! Give one to your children for them to arrange, too. I went a little overboard with the Christmas balls this year, but I say it’s okay to go a little glitzy for Christmas!
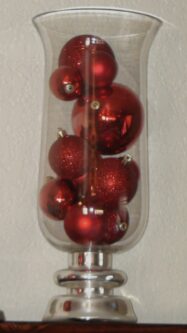

This fall I filled my hurricanes with pine cones and fall foliage. For Valentine’s Day, I’m thinking of filling them with conversation hearts or Hershey’s Kisses. Miniature Easter eggs in the Spring and citrus in the Summer and you’ve got year round decorations!
Another idea I had was born of my love for Christmas cards. The only problem I had was that the card holder we own only holds 10 cards or so. I’ve shopped around, but haven’t found any that held more cards. Then I found this lone bulletin board in the garage.
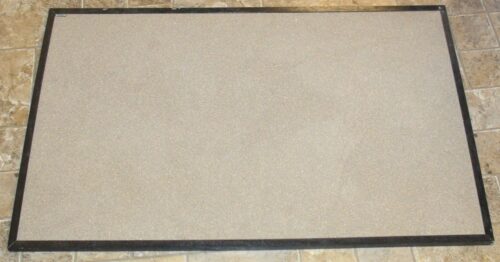
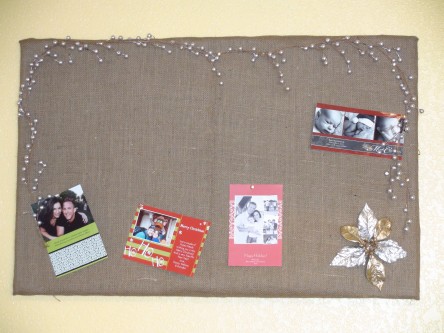
Add some burlap, a little garland and an accent flower, and you’ve got a perfect way to display all of those cards! Simply use a hot glue gun to wrap the bulletin board with burlap and add garland or flowers.
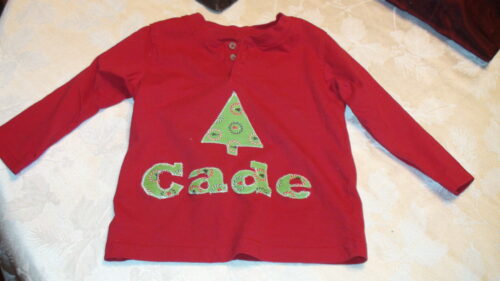
Who doesn’t love those adorable personalized kids’ shirts? I wanted something special for my preschooler to wear for his Christmas program, but most personalized shirts cost about $20. I found a plain red shirt in his closet and got to work creating my own. I used scraps of fabric and Heat and Bond to jazz up this shirt. The letters and Christmas tree shape were just things I printed off of my computer and used as templates to cut out. The package of Heat and Bond gives great directions, so all you’ve got to do is iron, cut, iron. Finish it off with a zigzag stitch (what I like to call faux embroidery) and you’re all done!
For a great gift idea, try embellishing simple tea towels with cute Christmasy shapes using Heat and Bond.
—
Lara
#55 boy, #76 girl!






Love your crafts! Everything is so pretty and perhaps it would be safe to say (after this post and the pictures) that you have more *Martha* than you knew!
Kimmie
mama to 8
one homemade and 7 adopted
Very cute! Thanks for sharing your great ideas!