Crazy Guest Blogger #5 – Mommy DIY Summer Lanterns
Summer Lanterns- Easy
Summer is here and it’s the perfect time to sit outside and enjoy the evening. But you will need a little light and these fun summer lanterns will do just that, as well as, provide you and your kiddies with a little bit of crafty fun. My daughter Jenna and I loved making the lanterns so much last year that we had to do it again this year!
Step one: Save a few cans (wash and dry them). Any shape or size will do.
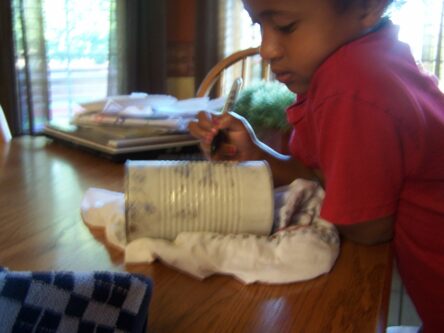
Step 3: Take cans out of the freezer and have your kiddos draw fun shapes, pictures on the can. We use a permanent marker. It’s strong enough to mark on the frosty cans and actually comes off pretty easy a little later on in the process. Although you might keep a close eye on those little ones while they have the marker out.
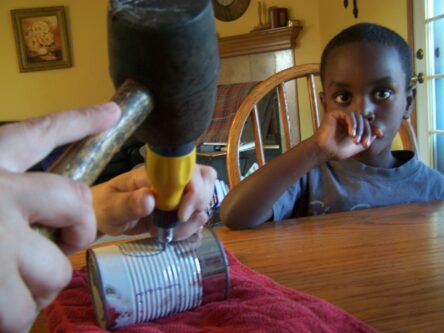
Step 4: Adults only!! You will need a mallet and a screwdriver. Place the can on it’s side and gently pound small holes along the shapes your kiddos just drew using the mallet and screwdriver. I like to put a towel under the can to help reduce the noise as well as help keep the can from slipping around. Make sure to also place a hole on each side at the top of the can to connect your handle.
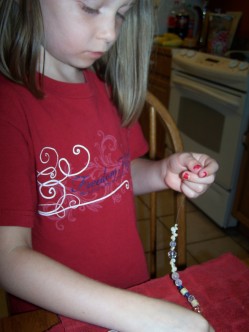
Step 6: The handle (my kids favorite part)! Cut a strip of wire and let the kiddos string beads on it. Once complete help them wrap the ends of the wire through the two holes you placed at the top of the cans. We also like to add little strips of ribbon at the edges of the handle.
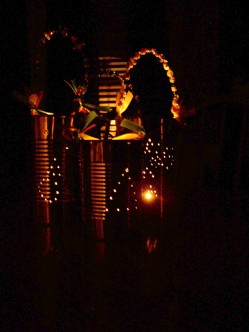
Step 7: Place your candle in the lantern. Hang and Enjoy!
Thanks Kim and family… I sure love you and very grateful for your friendship. Please check out Kim’s blog- A Blissful Heart!






I wished I would of had a freezer full of good dinners like that stock away before Kari left for the mission trip. Four nights in a row of Hamburger Helper, the kids are begging for some variety.
Oops. I posted on the wrong article. But, the lanterns do rock.